6,235 yards, 126 slope from the Two tees
Cinnaminison, New Jersey is the home of Riverton Country Club, a well preserved Donald Ross course that is locally heralded yet not known all that much beyond the area, for reasons unknown. The course started as nine holes back in 1900, then in 1915, Donald Ross was hired to expand it to eighteen holes. Ross implemented his own design on all but one of the holes, the Fourteenth, which survived over from the original nine. The newly designed Ross course opened in 1917 for play. In 2017, Ron Prichard and Tyler Rae were retained to perform restoration work. Set on rolling property with greens that take full advantage of the terrain, there’s a nice balance of ground and aerial components that keep the golfer encountering an array of strategic and executable situations, each a fresh set of elements to ponder. The greens really set the tone of the course. Their placement on the terrain shows the smart routing, all of which prompts the enchanting movement that starts at the greens yet reverberates to the fairway, then to the tee, all the way to the golfer’s psyche. Routing and greens were calling cards of Ross, who likely realized how vital and pivotal they were to the rest of the course playing well.
Still at the height of Summer with my golf game a toss up of what to expect round to round, a vibrant and sunny day graced us. Vivid colors drowning out any traces of toil that can hamper a round, the future was bright as we stepped to the dawn of each hole at the tee. It was as if the land was smiling upon us and accordingly, where the ball went began to be a matter of slight importance. Yet we carried on anyways for the sport of it.
The First is a 354 yard par 4 (from the “Two” tees). A dog leg left from perched tee overlooking the entirety of the hole. Three well placed bunkers, staggered from side to side, while the fairway climbs to the green. Slowly at first, then escalating to full on summit. The green is large yet blind from the fairway and darts this way and that, depending on where you are putting from. It’s a sturdy opener, having the golfer right down to it.


The Second is a 379 yard par 4. The small ridge upon which the Second tee rests is also where the First green and Seventeenth tee resides. This is the showing of the smart routing mentioned earlier. Taking advantage of the land features again and again. Here, the tee shot drops to the fairway, angled left towards the green. A slender bunker knifes in from the right while a smaller one further up on the left likewise encroaches the fairway. One can carry over them altogether or at least figure out where it might be acceptable to place around them. The good news is that after the bunkers, the wide fairway runs to the green, itself similarly wide and big. Mind the movement, which rolls straight through the green.


The Third is a 384 yard par 4. And just like that, we come across the number one handicapped hole. A slight dogleg left with a bunker short left that shouldn’t be an issue most of the time. Getting the tee shot out to clear the tree line on the left for a look at the green is necessary. A large center bunker is much shorter of the green than it looks at first blush, with the green uphill of it. The green is quick and getting the approach on it enough so it won’t fall and roll back down the apron and hill probably happens a lot more than people think. Two very good shots needed just to reach the green, then a deft flat stick must perform.


The Fourth is a 353 yard par 4. Sitting on the ridge that the Third green is on, it also houses the Fourth green, Fifth tee and Seventeenth green. The fairway is below with bunkers spread on both sides yet plenty of width to work with. The green makes this hole, however. The fairway leading right into it, the movement from right to left and back to front is strong yet deceptive. Placement of the approach likely ends up determining the difference between par and bogey, as the subtlety is enough to unravel the golfer.


The Fifth is a 342 yard par 4. It’s similar to the Third inasmuch as the green sits on that ridge and there’s a centerline bunker below the green, but the similarities are welcome, not repetitive. For those that wanted a second go at the Third, you now have it. The tee shot is easier since it’s straight away and getting it just below the bunker from the tee is possible, which in turn means the approach is likely easier than you had at the Third. The green is different; larger, wider, more geometrical with sharp edges and mounding, mainly on the right. It’s a cool par 4 that again, begins and ends at the green.


The Sixth is a 197 yard par 3. Back on the ridge, the green is not as much of a drop shot as it appears since it is set on a small hill opposite the tee. Surrounded by bunkers except on the front right, it’s a longer hole with the large green more than able to accommodate an array of long shots into it. For those missing the green, especially above to the right and/or above the hole, play with care.


The Seventh is a 510 yard par 5. A slight dog leg left where a sole fairway bunker on the left leaves you with a decision off the tee to try and take it on or lay up short of it. The same decision is further up on the right, when another bunker encroaches on that side. It’s a great example of selective bunker placement having the utmost effect on strategy. The staggered placement and how they are perpendicular to the fairway instead of parallel to it give the golfer pause as to how to deal with it. Carry it, hedge off to the side or lay up, the decision stays with you on every shot. Once at the green, it is very deep and angled to the fairway. It’s treachery comes from the severe fall off that is along the front/left and rear, which some how shrinks the acceptable landing area immensely as the golfer starts fearing those drop offs. The further left you are for your approach, the better angle in to minimize those fall off coming into play. A great par 5 full of strategy.


The Eighth is a 319 yard par 4. Straight and moderately uphill, water is off to the right for the really audacious tee shots in that direction. A few trees on either side should be noticed on the approach, which is to a green uphill from the fairway, continuing on the same incline. The green has gentle run offs as opposed to the sharper severe ones we saw on the last hole, yet they have the same effect and should be avoided nonetheless.


The Ninth is a 480 yard par 5. The tee shot is up and over a ridge, leading downhill to a trench bunker that bisects the fairway. The bunker comes into play on the second shot and must be carried while the green is beyond, pushed up above the fairway, the fall offs now becoming a pattern and part of the approach strategy.


The front nine has an interesting routing with only one par 3, two par 5’s in the last three holes, with the rest being par 4’s. There’s even a series of holes using the same ridge over and over. Yet, this set of nine feels varied as anything else out there, mainly because of how the terrain is relied on around the greens. I would rank them 7, 1, 3, 2, 4, 9, 5, 6, 8.
The back nine starts with the 409 yard par 4 Tenth. Turning into the direction in which we came from the Ninth, the terrain further down the hillside varies from the prior fairway, yet a ridge line graces the tee once again and once over it, the green comes into view. A narrow bunker on the left cuts in to the fairway, with a lot of the movement towards it. Approaches from the left, near the bunker, seem to the the best line in while the right side is smarter to move along, yet the angle into the green means accounting from the right to left movement, away from you on that side. It’s a great green and with the slopes of the terrain and bunker placement, options are aplenty.


The Eleventh is a 142 yard par 3. A forced carry over water, hedging left away from the water is fine but the bunker and green movement make strokes on that side cautious, with the water now behind you and very much in play.

The Twelfth is a 418 yard par 4. The tee shot is a forced carry over water, with trees lined on both sides. The wheels were falling off as I ended up finding the water here as well as the prior hole. The fairway then moves downhill until a slight crook moves left, then a bit uphill to the green. The hillside moves left to right, which is the same on the green, which also moves back to front. The green and how it’s configured on that hillside is fascinating. I could have stayed there and putted all day.


The Thirteenth is a 389 yard par 4. The fairway is gently downhill from the tee, with the green set to the left. A lone tree stands in the way of the fairway and green, making sure not just every shot to the green will do. The fall offs we’ve seen throughout the round strike here on the left side of the green, making any miss off to the right that more precarious.


The Fourteenth is a 186 yard par 3. A forced carry over water, this one a little less blunt than the Eleventh, angling in from the right. A large green awaits on the other side, with larger bunkers on each side and back right. Lots of room to hit the green, yet lots of room to miss.

The Fifteenth is a 405 yard par 4. One of the trickier tee shots of the round, there’s an immediate carry over water to the fairway, which then turns abruptly to the right and climbs uphill to the green. Trees impede the tee area and fairway, so you must try and carry the trees or go around them, both of which are possible from the tee. The fairway is then all uphill to the green, staggered fairway bunkers on either side and a precipitous slant from right to left near and on the green.


The Sixteenth is a 156 yard par 3. Probably the short par 3 that’s a trait of Ross courses, the green moves from back to front, with a trench bunker cut in front below the green, which is raised on the ridge opposite the tee. It’s another par 3 where there’s plenty of room to hit the green but for those who do not, the road to recovery – there will be bumps. My score on this hole was a million by the way.

The Seventeenth is a 466 yard par 5. Another tricky tee shot with the dog leg, this one to the left and an elevated tee. The elevation tempts the golfer to try and carry the bunkers on the left and reach the fairway beyond while the more conservative will stay to the right of the bunkers, yet the hillside will pull those shots towards the rough, making it a long way to the green. Indeed, after the turn, the fairway moves uphill a good bit, where the fairway bunkers do their thing of cutting into the lanes of play. A couple bunkers near the green are accompanied by raised bunkers that bring in some visibility issues with the green. This hides the false front and also disguises just how big the green is. Long and left of the green are no good at all. It’s yet another very good par 5 here.


The Eighteenth is a 346 yard par 4. The final hole runs along the top of the ridge before drooping down to the green. A tree line on the left lines the property boundary while the right side drops way down to the Seventeenth fairway. As we’ve seen throughout the round, the bunkers are few but are effective at making their presence known and affecting play, which is certainly the case here, with one on the right short of the green and the other greenside left. The rear and right of the green should be avoided; I would take the bunker shot over those areas any day of the week. A great closing approach that’s full of options yet whatever it is you choose to do, much do it well.


The back nine has the extra par 3 and only one par 5 yet the variety in play we had on the front remains here as well. The middle of the nine waned a bit for me, which seemed to be on the duller part of the property, but the closing triumvirate ended things on the right note. I would rank them 18, 10, 17, 16, 12, 13, 14, 15, 11.
Generally, Riverton is a strong, lesser known Ross that deserves more attention than it gets. The routing, greens and bunkering are impressive, all of which is as challenging or fun as you want it to be. The remarkable terrain features are utilized efficiently and to their utmost, the dance between strategy and execution is at a frothy tempo and the greens, the soul of the course, are at first blush large and simplistic yet as you interact with them, begin to understand their sophistication. A solid classic.
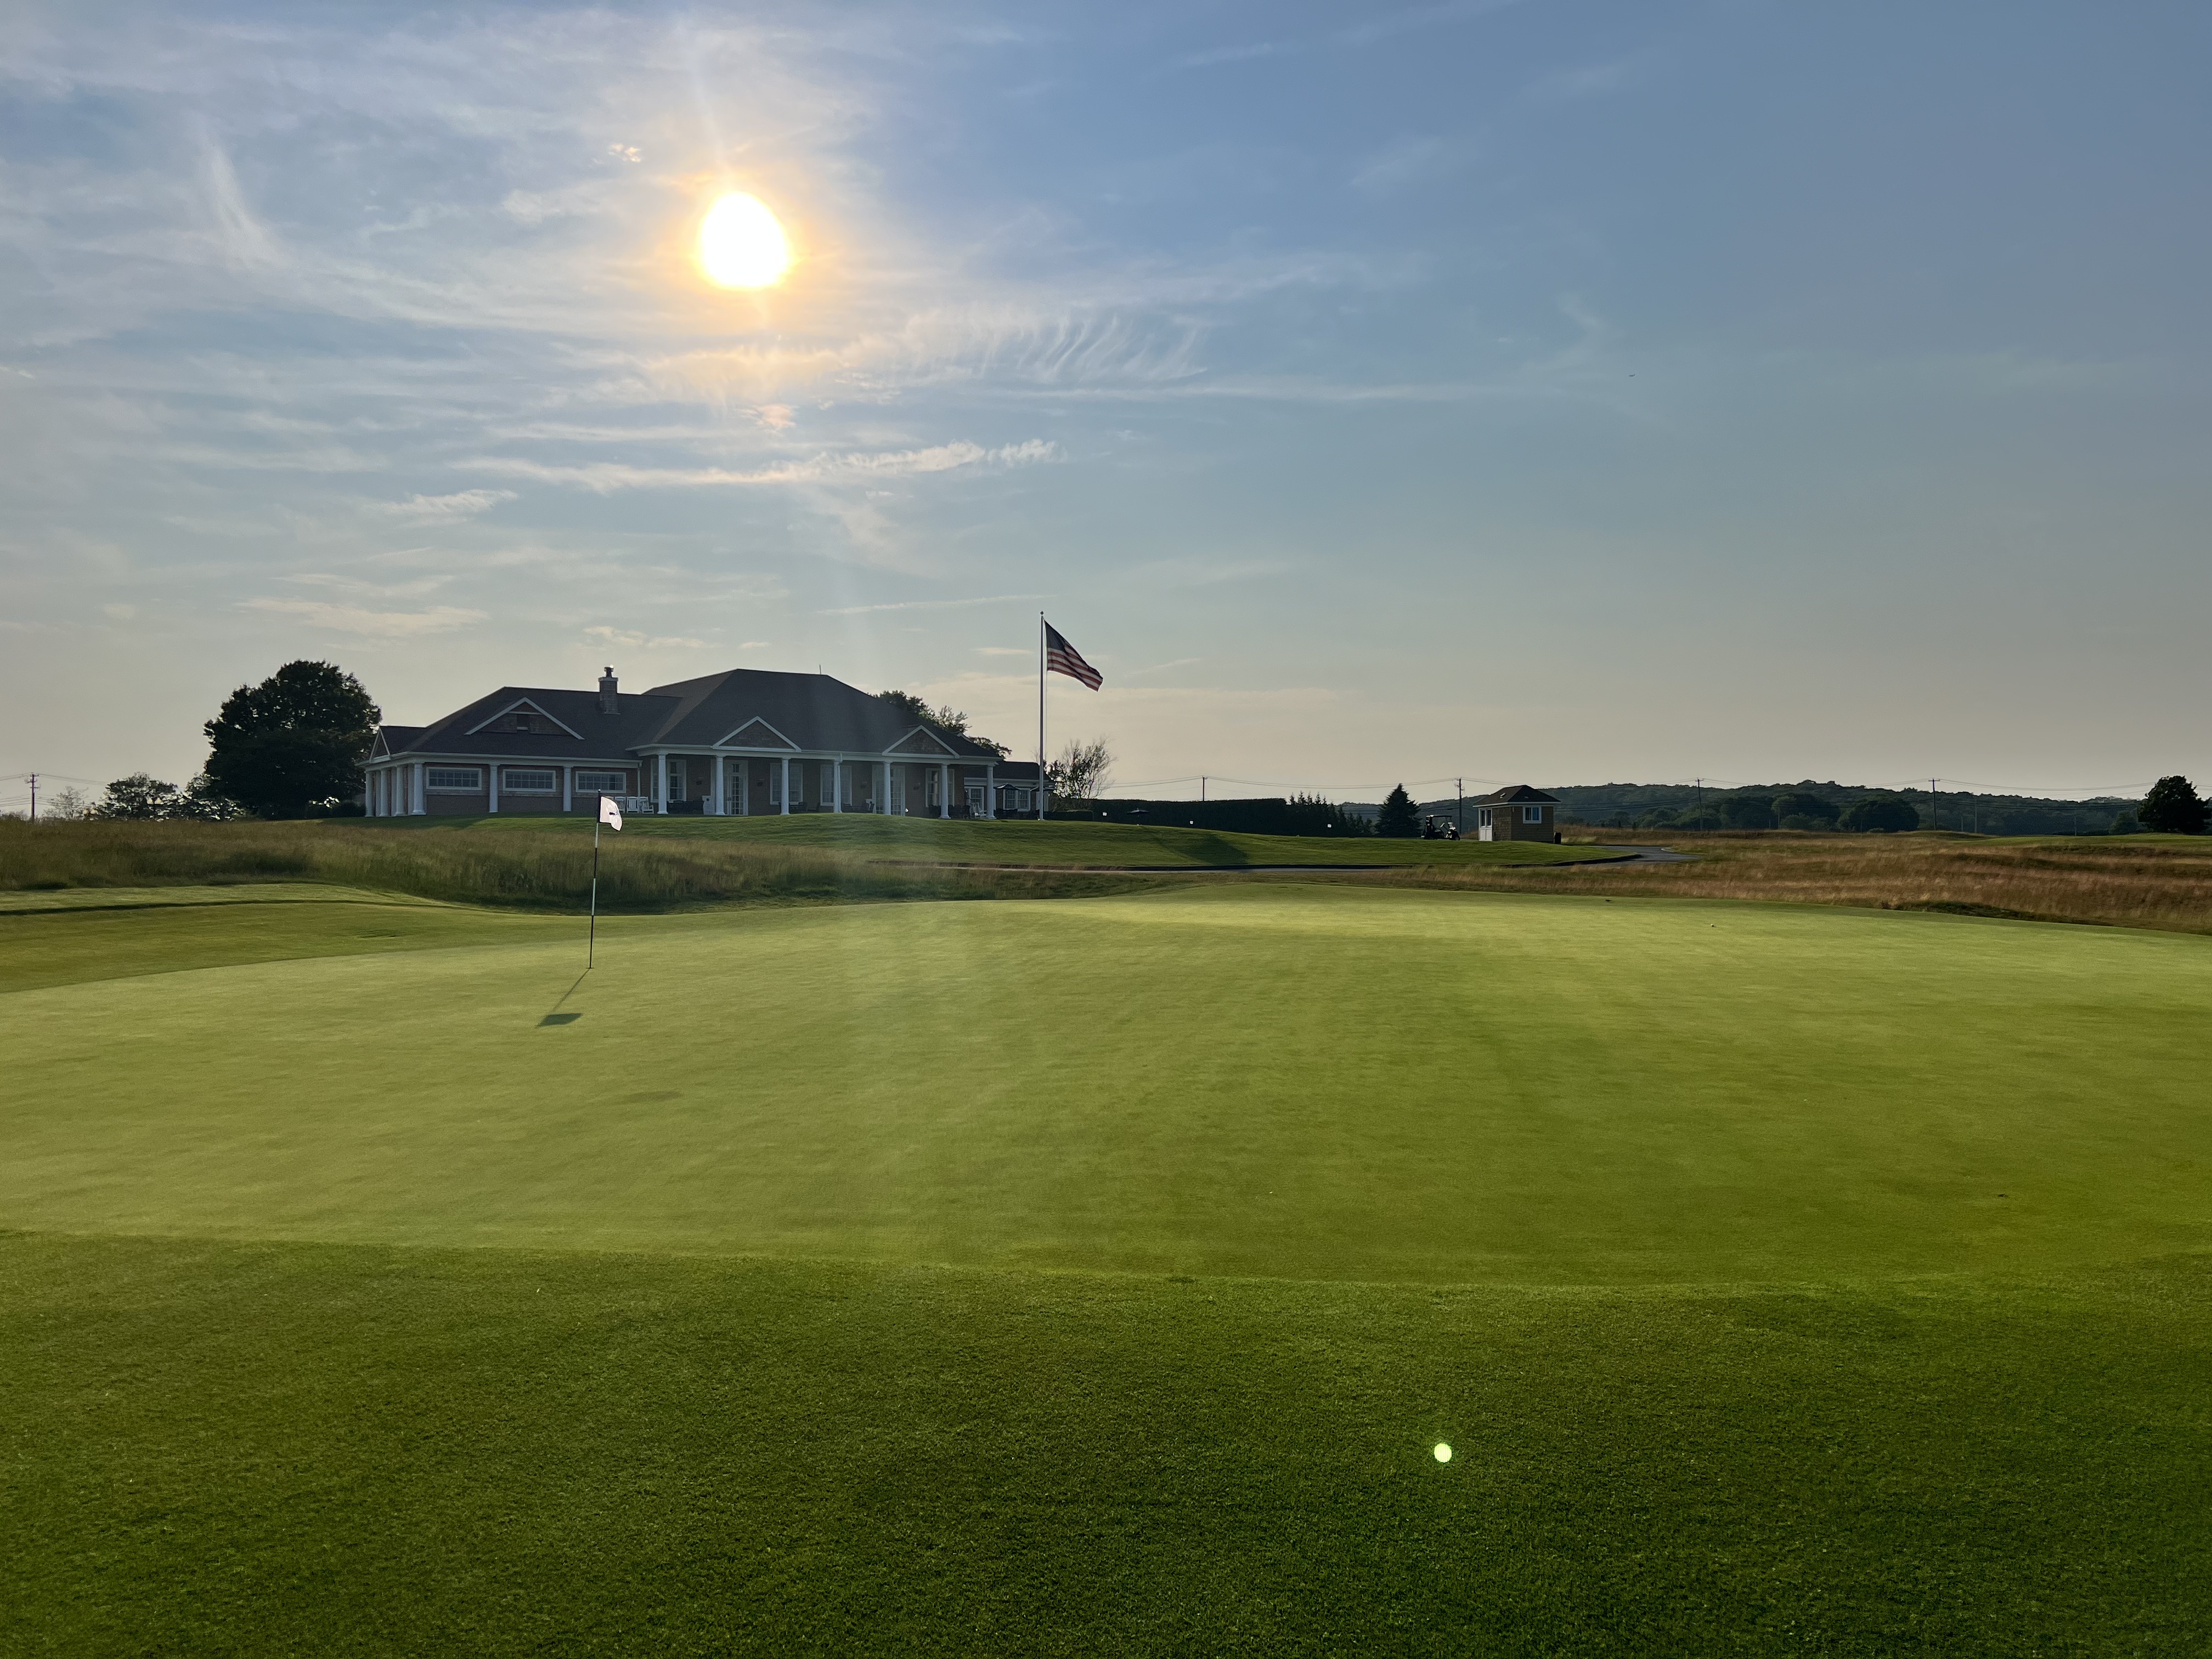
Clubhouse/Pro Shop: Sits nicely at the corner of the property next to the First with a nice deck overlooking the grounds and a well stocked pro shop.
Practice area: A smaller irons only range off the right side of the First, a putting green near the clubhouse and possibly a short game area some where.


You must be logged in to post a comment.